How to create localized App Store and Google Play screenshots
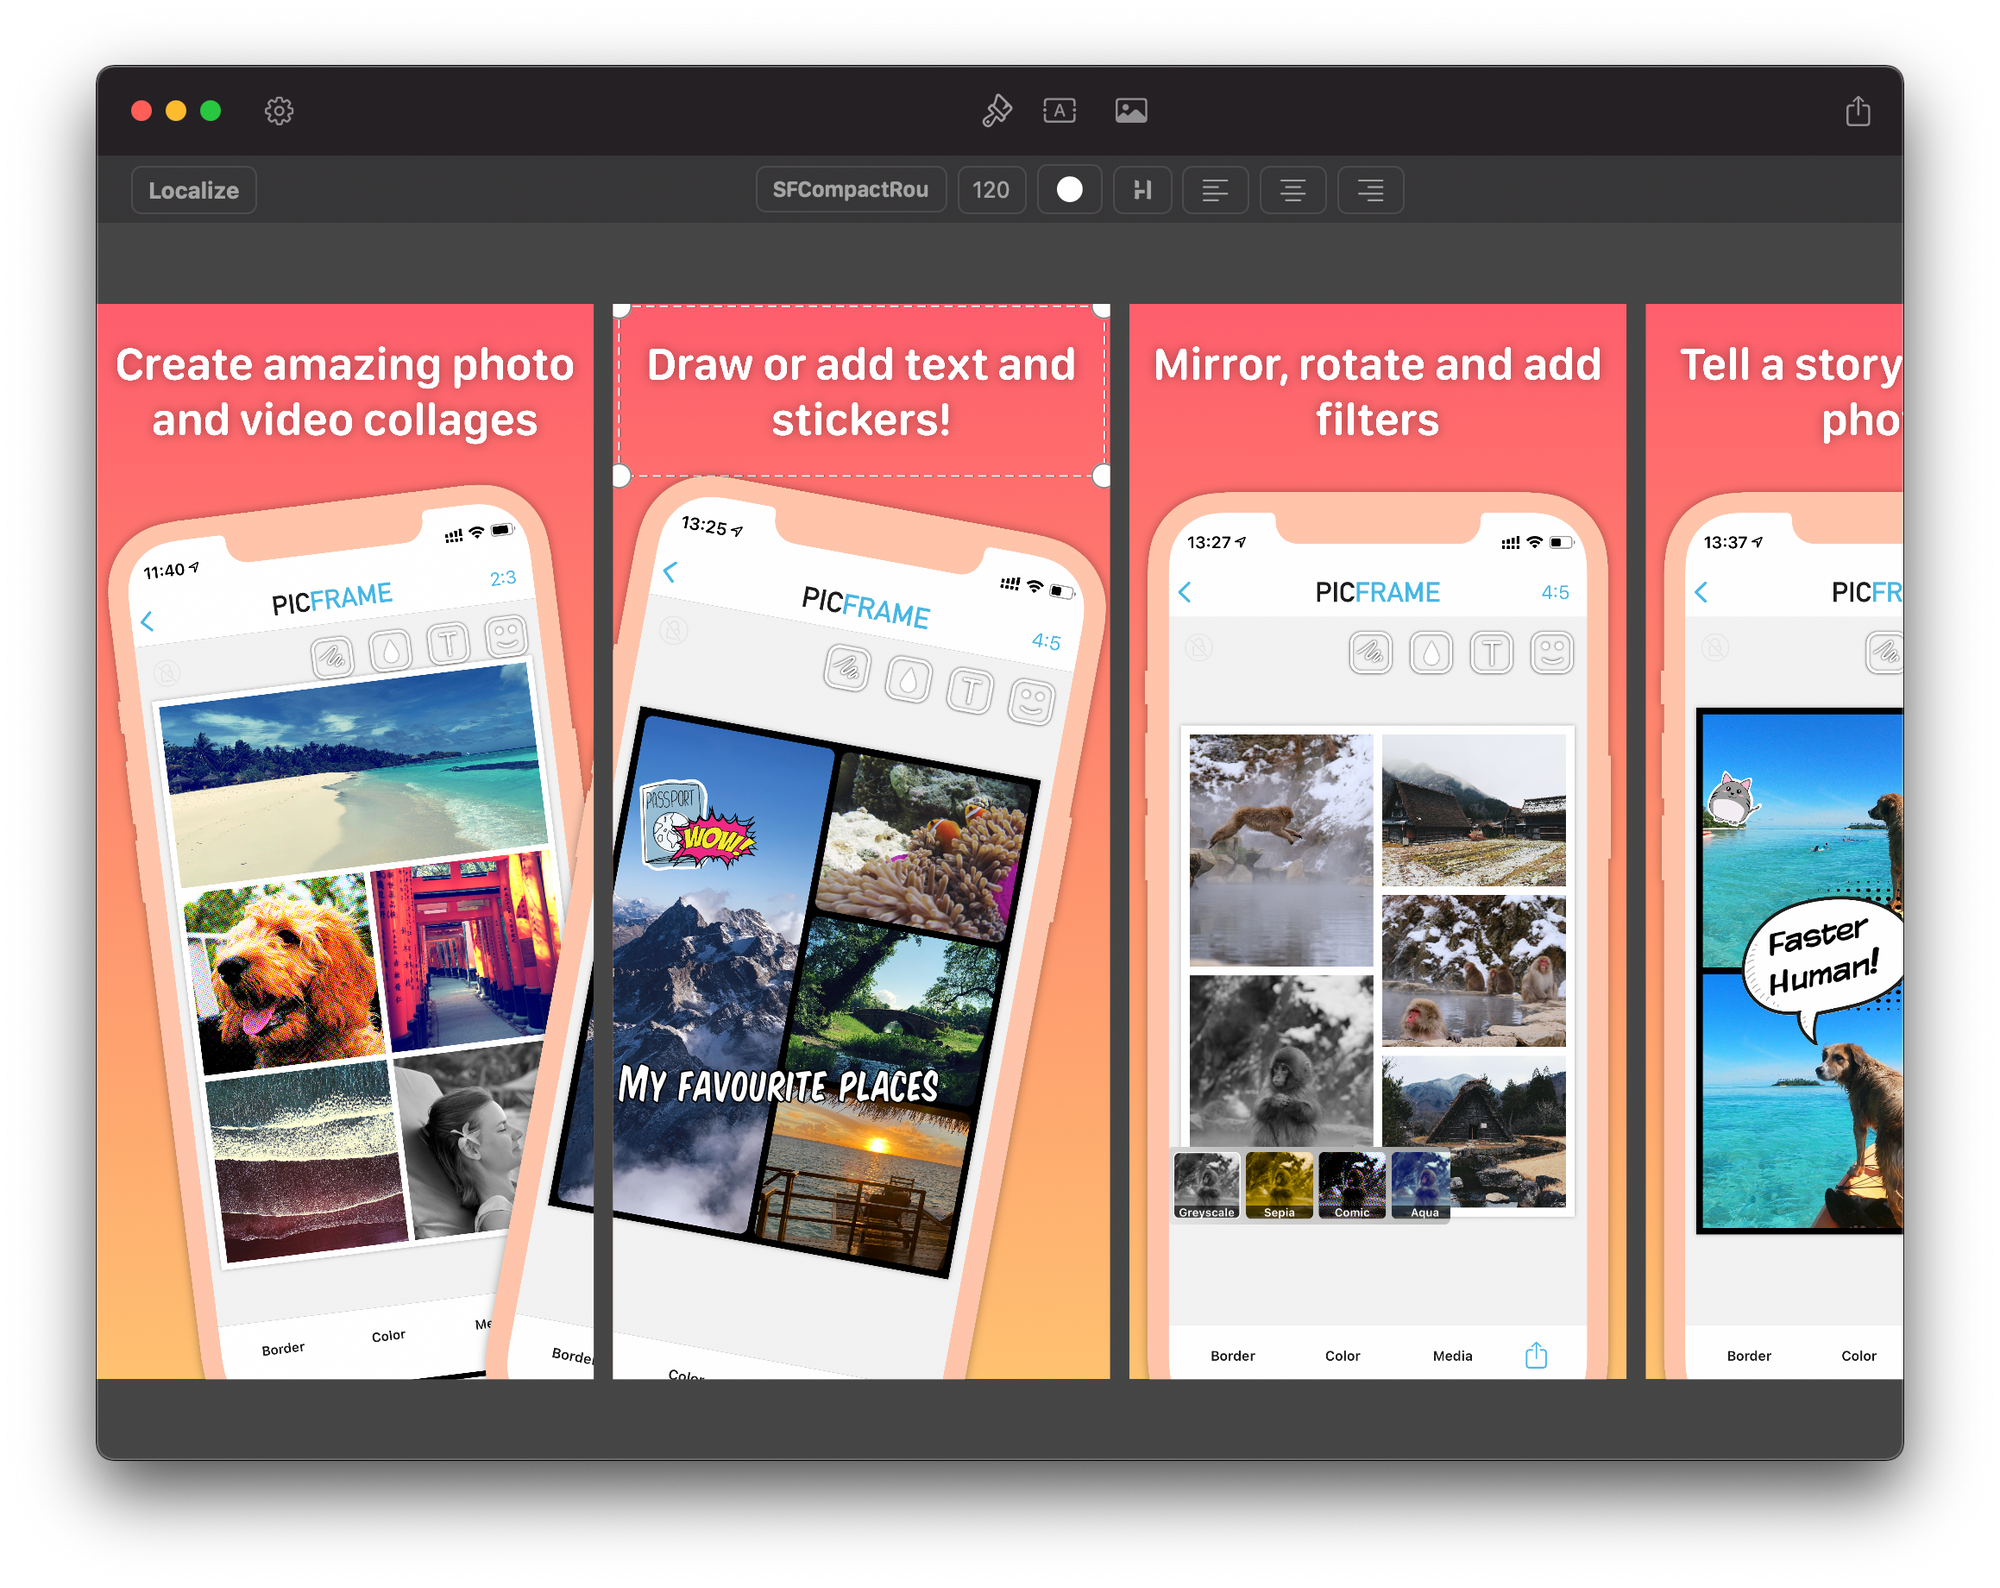
Creating localized App Store screenshots can be a lot of work, especially if you want to do it visually. With Screenshot Maker you can design once and output png files for each language with a single click.

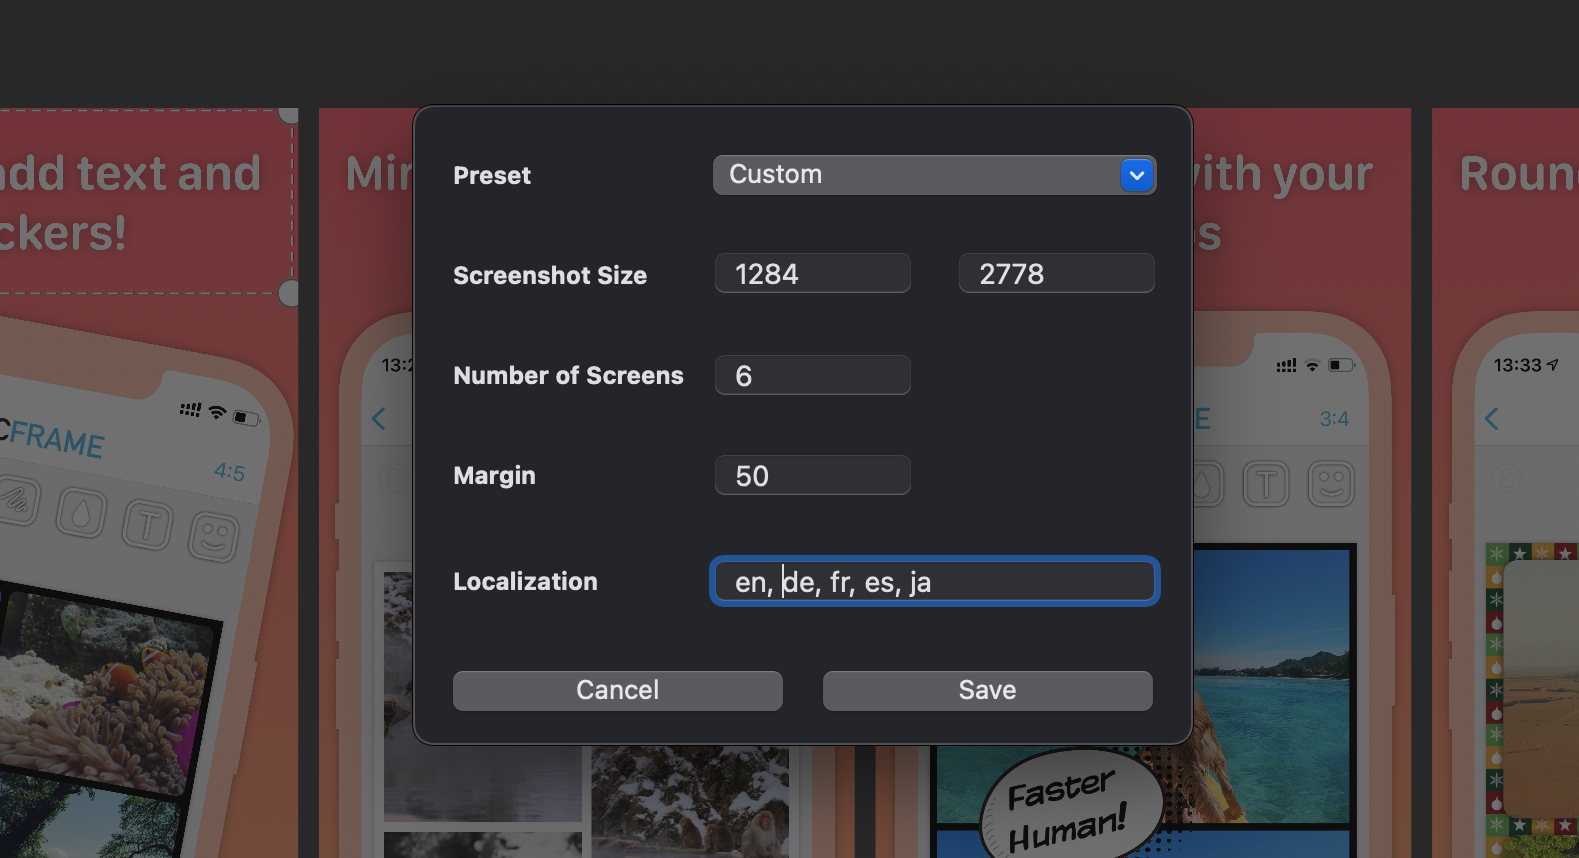
First, download Screenshot Maker from the Mac App Store. Then start from a template or create an empty project. Dimensions for common screenshot sizes are included or you can enter your own. If you are creating from an empty project then enter in the localizations you require, separated by commas. If you used a template then click the settings icon in the top right. This is where you modify your projects settings.

While designing, you will be working with your default language. Enter in your text and screenshots. When you are ready to add more languages select a text or screenshot then click the Localize button in the toolbar. Here you can either drag a screenshot or add text for each locale. Along with this you can customize the font and font size per language. If you don't have a screenshot or text specific to a language then it will use the default one.
Once you are ready save your Project by going to File > Save as. This way you can continue working on it at a later date.
Finally, to output your images choose File > Export Images. Here Screenshot Maker will list all of your languages, allowing you to export for all or just specific ones.
Hit save and you will see progress as your screenshots are created. That's it, now simply upload them to the App Store or Google Play.
